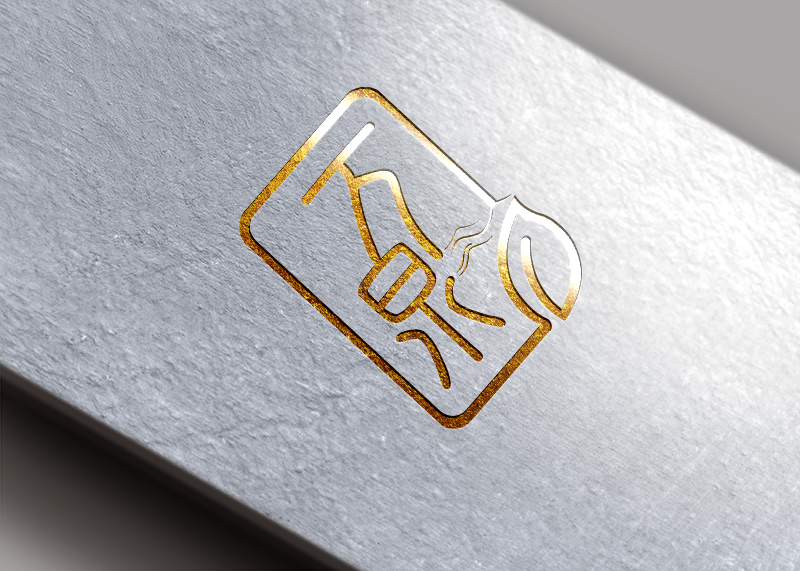
LOGO has been designed, how to use PS to design a series of renderings?
The logo is the symbol of a brand and the image of a company or a product. After designing the logo, how to transform it into a series of visual effects is a key problem. This article will introduce how to design logo rendering in Photoshop ( PS ) to help designers realize their design idea better.
I. Design Phase
Determine the design style: When designing a logo, designers should consider its design style, such as modern, vintage, hand-painted, etc. This will help them select the right tools and techniques in the subsequent design process.
Understanding the logo: Designers need to have a deep understanding of their logo, including its meaning, symbolism, and target audience. This will help them maintain consistency throughout the subsequent design process.
II. Selecting Tools and Settings
Select a tool: In PS, designers can use a variety of tools to implement their design ideas, such as brushes, graphic tools, graphic mixing tools, etc. Choose the right tool based on the style of the logo and the effect the designer wants to achieve.
Color management: Set color management to fit the overall color palette of your design. Use the Color Finder to help designers control colors more accurately.

III. Design of the logo effect drawing
Establish the transparency of the logo: By creating the transparency of the logo, the designer can create the overlay effect of the logo. For example, they can place the logo on a background image and adjust the transparency of the logo to create a blend.
To create a gradient effect: Use the Gradient tool to add a color gradient to the logo. By adjusting the angle and color of the gradient, designers can create unique visual effects.
Add texture: Use the Texture tool to add texture and detail to the logo. For example, they can use a pattern or textured background, or in theLOGOAdd details, such as light or shadow.


